How to make a paper bag book cover: the overview
Here’s the steps for how to make a paper bag book cover, with more info on each step below.
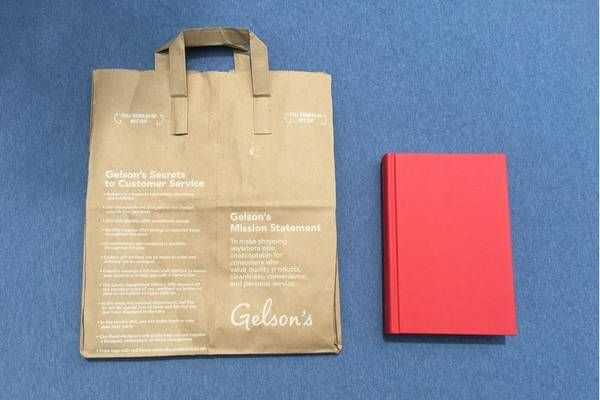
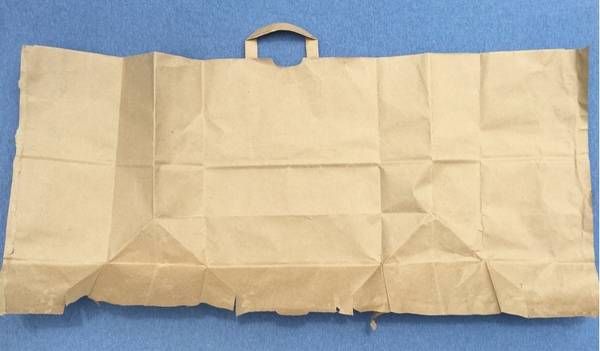
1. Prepare your paper bag.
Depending on the size of the book you want to cover, you can use a paper grocery bag (usually enough paper for two standard hardcovers, maybe a textbook) or a brown paper lunch bag (good for one smaller hardcover). In order to get the most out of one bag as possible, instead of cutting out flat pieces, you should be able to find a glued seam on the back face of the bag that you can gently pull apart. There will also be some glued seams and folds on the bottom of the bag that can be taken apart as well. You will end up with one large, flat piece of brown paper.
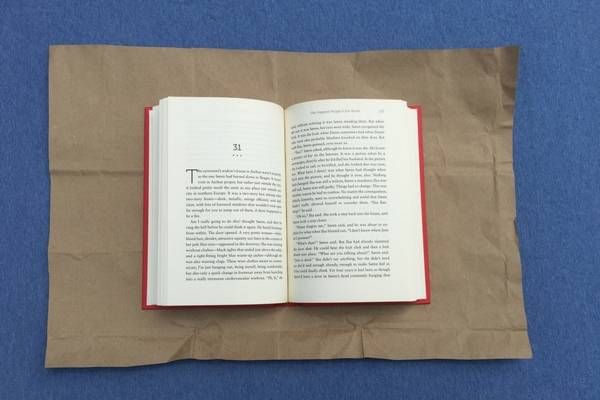
2. Cut paper to size.
Using the book you want to cover as a size guideline, measure (or approximate, precision is not super important here) out a rectangular piece of paper slightly larger than the book itself. There should be about two inches of excess at the top and bottom, and about three inches on each side when the book is opened flat.
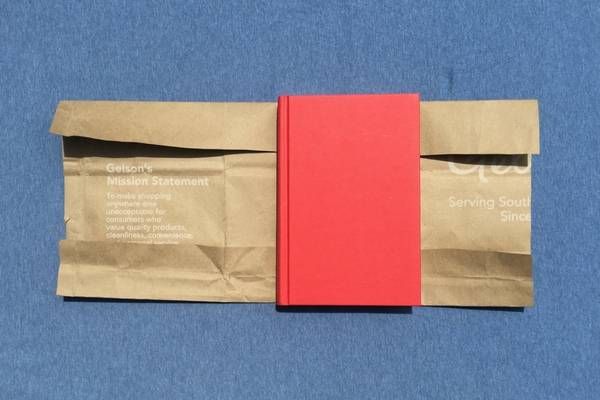
3. Fold top and bottom edges.
Center the book to be covered on the paper and create creases along the top and bottom edges of the book. Fold the paper down along these creases across the entire length of the paper so that it now matches the book in height, and place the book on top. (Make sure you position the paper so that any grocery store logo faces inward and will be hidden once the jacket is complete.)
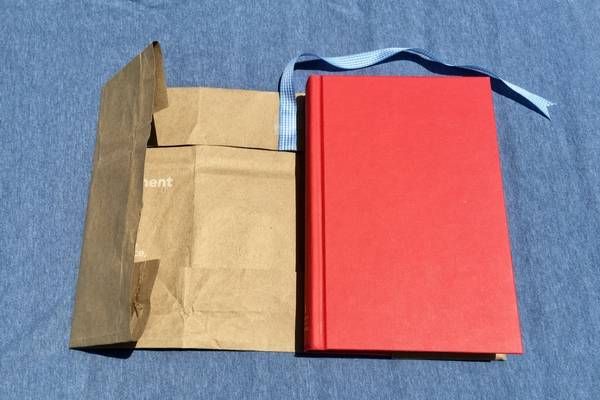
4. Wrap jacket around book evenly.
Gently wrap the paper around your book, ensuring that the book is centered so that there is an even amount of excess paper on each side. Fold the excess paper around the front and back covers to create gentle creases. The jacket should appear complete.
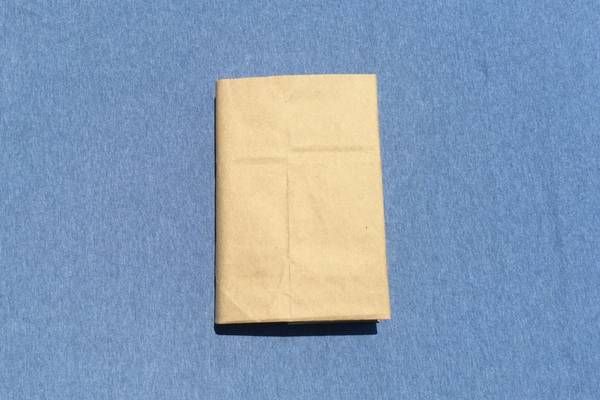
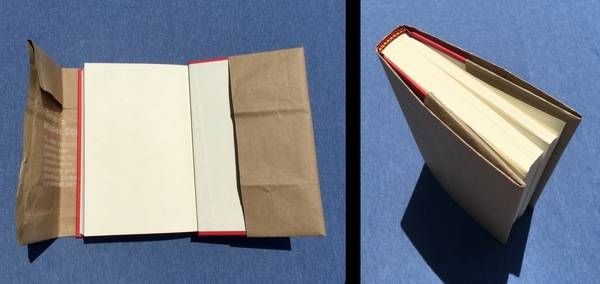
5. Slide book securely into cover.
Due to the folded edges from Step 3, small flaps should have been created at the top and bottom of your new paper jacket. Tuck your book’s back cover into these flaps and slide the jacket onto the cover until you reach the crease made in Step 4. Repeat with the front cover, and your book should be securely covered with a new brown paper jacket! Note: Be careful using this method to create a cover for a paperback. It is absolutely possible, but the flimsier book might cause the jacket to slip off fairly easily.
Extra ideas:
Of course, decorate! Let your imagination run wild and cover your jacket with drawings, stickers, etc. You are not limited to just brown paper bags. Have fun using leftover wrapping paper, colored paper, any type of paper you want! Attach a ribbon (with tape or glue) right at the center of the top folded edge of your paper jacket for a custom marker!
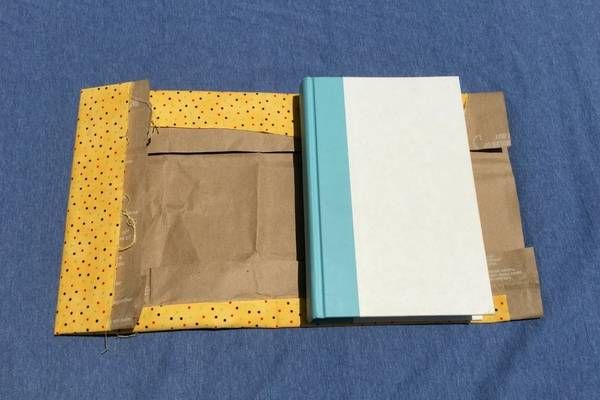
Use the brown paper as a backing for some fabric to create a whole new feel. I used double-sided tape to attach the fabric to the paper so that it could be easily removed and replaced in case the fabric gets dirty or I want to change things up without completely starting over with a new bag.
And there you have it! No matter if you want to keep your paper bag book cover simple or come up with all kinds of creative ways to make it your own, I hope this guide can serve as a good jumping-off point for all you crafty readers out there. If you have any cool ideas that you’d like to share with other readers, feel free to drop them in the comments! Want even more book-tastic crafts? Check out our whole section on bookish crafts.